
Back-to-School Craft Ideas: Personalized Supplies and More
As the new school year approaches, getting your kids excited about returning to school can sometimes be a challenge. One effective way to build anticipation and enthusiasm is by involving them in personalized craft projects. These activities not only provide a creative outlet but also result in unique school supplies and decorations that reflect your child’s personality. Plus, they foster a sense of independence and help children feel more connected to their preschool journey. Here are some fun and engaging back-to-school craft ideas that will make the transition to a new school year enjoyable for your kids.

1. Customized Notebooks
Transform a plain notebook into a personalized masterpiece with a little creativity. This project is perfect for getting your child excited about school while practicing developmentally appropriate practices.
Materials:
Plain notebooks
Scrapbook paper or wrapping paper
Stickers, stamps, and markers
Glue stick or double-sided tape
Scissors
Clear contact paper (optional)
Instructions:
Cover the Notebook: Cut the scrapbook or wrapping paper to fit the front and back covers of the notebook. Secure the paper with glue or double-sided tape.
Decorate: Let your child decorate the cover with stickers, stamps, drawings, or any other embellishments they like.
Protect: Cover the decorated notebook with clear contact paper to make it durable and ensure it lasts all year.

2. Personalized Pencil Cases
Creating a custom pencil case is a fun project that results in a practical item your child will use daily, fostering their confidence and sense of personal responsibility.
Materials:
Plain fabric pencil case
Fabric markers or paint
Stencils (optional)
Iron-on patches or decals (optional)
Sequins, beads, or buttons (optional)
Hot glue gun (optional)
Instructions:
Design: Encourage your child to sketch out a design. They can use fabric markers or paint to draw directly on the pencil case.
Stencils and Patches: Use stencils for neat patterns or letters. Iron-on patches or decals can add a polished touch.
Embellish: Add extra flair by gluing on sequins, beads, or buttons.
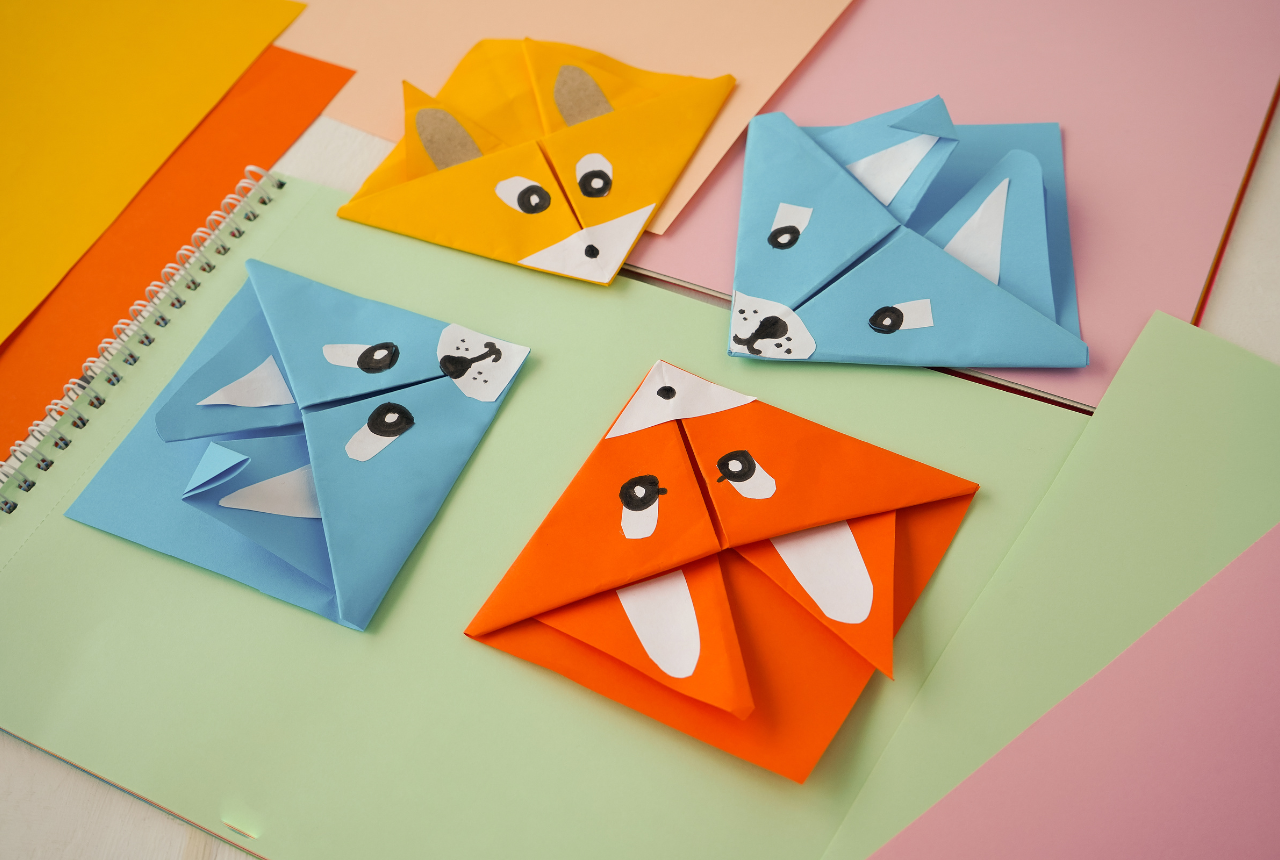
3. DIY Bookmarks
Encourage your child’s love for reading with handmade bookmarks. This simple project supports purposeful play and allows your child to express their creativity.
Materials:
Cardstock or thick paper
Markers, colored pencils, or paint
Stickers and washi tape
Ribbon
Scissors
Hole punch
Instructions:
Cut Out the Bookmarks: Cut the cardstock into strips of your desired size.
Decorate: Let your child decorate the bookmarks with drawings, stickers, and washi tape. Personalize them with their name or favorite quotes.
Add Ribbon: Punch a hole at the top of each bookmark and tie a piece of ribbon through it for a finishing touch.

4. Creative Lunch Bags
Reusable lunch bags are eco-friendly and customizable, making them a great project to help your child embrace a time and freedom lifestyle while fostering environmental awareness.
Materials:
Plain fabric lunch bag
Fabric markers or paint
Stencils (optional)
Iron-on patches or decals (optional)
Sequins, beads, or buttons (optional)
Hot glue gun (optional)
Instructions:
Design: Plan a design and sketch it on the lunch bag with a pencil if needed.
Decorate: Use fabric markers or paint to bring the design to life. Stencils and iron-on patches can add detail.
Embellish: For added sparkle, glue on sequins, beads, or buttons.

5. Personalized Desk Organizers
Help your child keep their study area tidy with custom desk organizers. This project not only encourages personal responsibility but also provides a chance to recycle and get creative.
Materials:
Empty cereal boxes or shoe boxes
Scrapbook paper or wrapping paper
Glue stick or double-sided tape
Scissors
Markers and stickers
Instructions:
Cut and Assemble: Cut the boxes into the desired shapes and sizes for holding pencils, paper, and other supplies.
Cover the Boxes: Use scrapbook or wrapping paper to cover the boxes, securing it with glue or tape.
Decorate: Let your child decorate the boxes with markers and stickers to make them uniquely theirs.

6. DIY Whiteboards
A personalized whiteboard can be a handy tool for notes, reminders, or doodles, promoting responsibility and accountability.
Materials:
Picture frame with glass
Scrapbook paper or plain white paper
Dry-erase markers
Stickers and washi tape (optional)
Instructions:
Prepare the Frame: Remove the backing and glass from the picture frame.
Insert Paper: Place a piece of scrapbook paper or plain white paper inside the frame as the background.
Decorate: Let your child decorate the frame with stickers and washi tape.
Assemble: Reassemble the frame with the glass. The glass surface will act as the whiteboard.

7. Personalized Backpacks
Transform a plain backpack into a stylish statement piece with a few crafty touches, helping your child express their unique personality.
Materials:
Plain backpack
Fabric markers or paint
Iron-on patches or decals
Sequins, beads, or buttons
Hot glue gun
Instructions:
Design: Plan the design on the backpack, sketching lightly with a pencil if needed.
Decorate: Use fabric markers or paint to draw on the backpack. Iron-on patches can add detail.
Embellish: Glue on sequins, beads, or buttons for extra flair.

8. Custom Calendar
Help your child keep track of important dates and assignments with a custom calendar. This project can be part of creating a meaningful and organized preschool experience.
Materials:
Blank wall calendar or printable calendar template
Markers, colored pencils, or stickers
Scrapbook paper
Glue stick or double-sided tape
Scissors
Instructions:
Decorate Each Month: Let your child decorate each month’s page with drawings, stickers, or scrapbook paper.
Add Important Dates: Mark important dates such as the first day of school, holidays, and birthdays.
Assemble: Put the pages together and hang the calendar in a place where your child can easily see it.
These personalized craft ideas not only make back-to-school preparation more enjoyable but also help your child feel more invested in their school supplies and surroundings. By turning necessary preparations into creative projects, you can help your child approach the new school year with excitement and confidence. Plus, these DIY projects provide valuable bonding time and opportunities for your child to express their creativity. Happy crafting!
Free Resource
Thank you for reading this content. And if you loved this post, please be sure to join our Parent Advisor Facebook group where we share more insights and community.
Get creative with personalized back-to-school crafts! Check out our article and enjoy a FREE set of Summer Coloring Bookmarks to add a touch of fun to your child’s reading routine.

Everyone deserves self-care
The same goes for busy moms like you. So let's do it together and create a healthy habit!
Join the 30-Day Happy Mom Challenge Today!

Visit our Parent Advisor and The Buzz Blogs to learn more about related topics and parenting tips. You are welcome to join our private Parent Advisor Facebook group. It’s a growing community of parents and preschool teachers where you can learn and share more parenting tips.
Related Blogs
Kindergarten, Here We Come! Prepare your Preschooler with these 10 Essential Skills
Kindergarten Countdown: Ensuring Your Child is Ready for the Big Leap
First Day, Big Smiles: Confidence-Boosting Tips to Set Your Child up for Success
How to Gauge Your Child's Readiness for Kindergarten: Essential Skills Checklist
Kindergarten Readiness: 7 Tips for Preparing Your Preschooler for a Successful Start
Spring into Savings: 5 Budget-Friendly Tips for Parents to Save Big
No Experience Required: Thriving in the Chaos of Preschool Preparation